
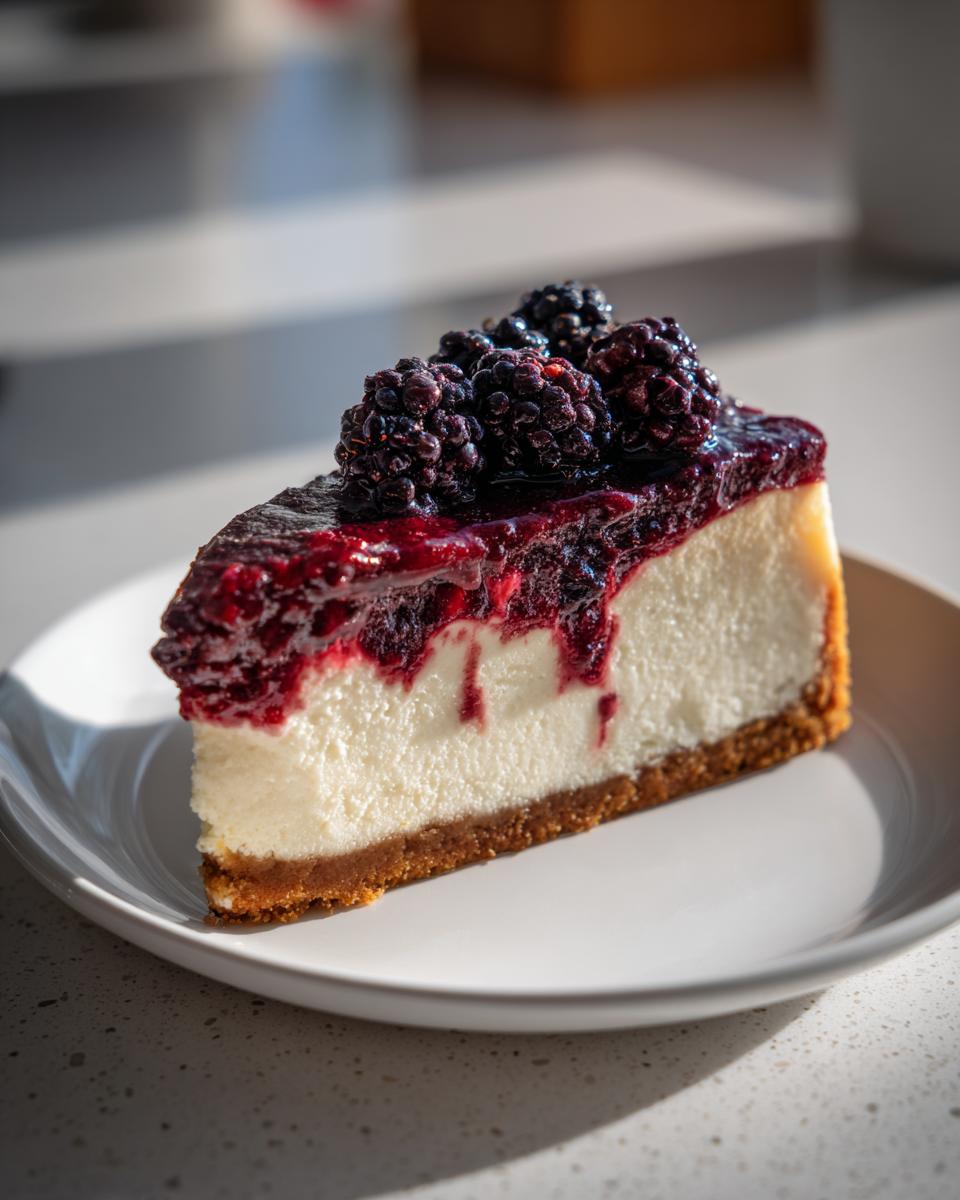
Oh my goodness, let me tell you about my Mulberry & Earl Grey Cheesecake! This delightful dessert combines the rich creaminess of cheesecake with the floral notes of Earl Grey tea and the sweet-tart burst of mulberries. It’s like a warm hug on a plate! I first stumbled upon this magical pairing during a tea party with friends, and I just had to recreate it. The way the flavors dance together is pure joy! The cheesecake is smooth and luscious, while the mulberries add a refreshing zing that keeps you coming back for more. Plus, it’s a showstopper at gatherings—trust me, everyone will be asking for the recipe! So, roll up your sleeves, and let’s dive into this unique twist on a classic dessert that’s sure to impress.
Ingredients List
- 200g digestive biscuits
- 100g unsalted butter, melted
- 400g cream cheese
- 100g sugar
- 2 large eggs
- 200ml sour cream
- 1 cup mulberries (fresh or frozen)
- 2 bags Earl Grey tea
- 1 teaspoon vanilla extract
How to Prepare Mulberry & Earl Grey Cheesecake
Let’s get right into the fun part! Making this Mulberry & Earl Grey Cheesecake is a joyful process, and I promise you’ll love every step. Just follow these directions, and you’ll be savoring this delicious dessert in no time!
Preheat the Oven
First things first, preheat your oven to 160°C (320°F). Preheating is crucial because it ensures the cheesecake bakes evenly and sets properly. Trust me, you don’t want to skip this step! A warm oven means a smooth, creamy texture that’s to die for.
Prepare the Biscuit Base
Now, grab those digestive biscuits and crush them into fine crumbs. You can pop them in a zip-top bag and use a rolling pin for this—super satisfying! Mix the crumbs with the melted butter until it resembles wet sand. Then, press this mixture firmly into the bottom of your springform pan. Make sure it’s compact; this will be the sturdy base for your cheesecake.
Make the Cheesecake Filling
In a large bowl, beat the cream cheese and sugar together until it’s smooth and creamy—oh, that texture! Now, add the eggs one at a time, mixing well after each addition to ensure everything is well combined. This makes a huge difference in the final result, so don’t rush it!
Incorporate Flavors
Next up, stir in the sour cream, steeped Earl Grey tea, and vanilla extract. This is where the magic happens! The flavors meld together beautifully, creating that signature taste we’re aiming for. Make sure you blend it well; you want every bite to be bursting with flavor.
Add Mulberries
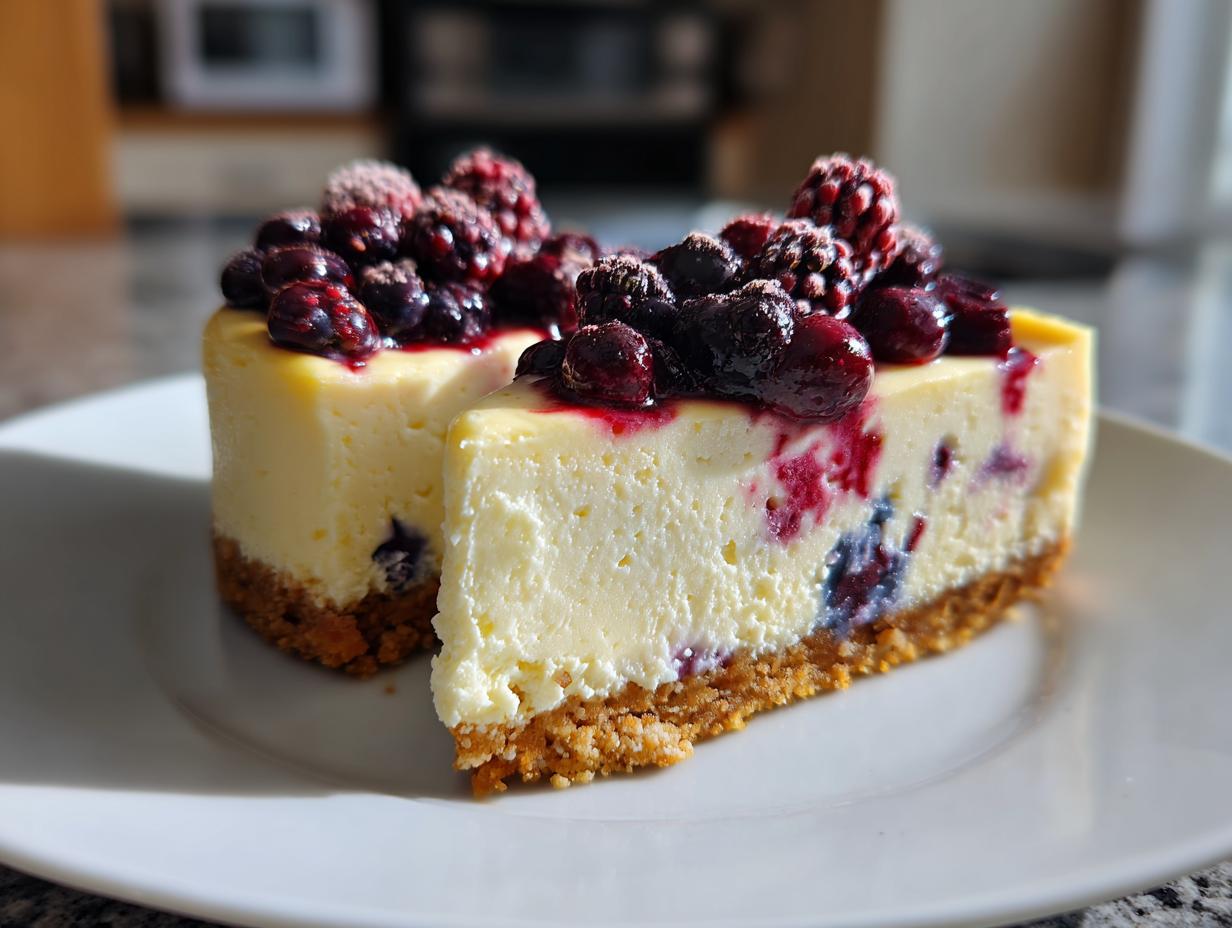
Now it’s time to fold in those lovely mulberries. Gently mix them in—be careful not to break them apart! You want those beautiful berries to stay intact, adding bursts of sweetness and tartness in every slice.
Bake the Cheesecake
Pour the cheesecake mixture over your biscuit base and pop it in the oven. Bake for 45-50 minutes, or until the edges are set but the center still has a slight jiggle. Once done, let it cool at room temperature, then refrigerate it for at least 4 hours before serving. This cooling time is crucial for the flavors to deepen and the texture to firm up. You’ll be amazed at how delicious it is after that little wait!
Nutritional Information
Alright, let’s chat about the nutritional stats for this delicious Mulberry & Earl Grey Cheesecake! Just a heads up, these values are estimates and can vary based on the specific ingredients you use. But here’s what you can generally expect per slice:
- Calories: 350
- Fat: 22g
- Saturated Fat: 12g
- Unsaturated Fat: 8g
- Trans Fat: 0g
- Carbohydrates: 30g
- Sugar: 20g
- Fiber: 1g
- Protein: 5g
- Cholesterol: 90mg
- Sodium: 200mg
This cheesecake is rich and indulgent, so while it’s a treat, it’s definitely worth savoring! Enjoy every creamy, flavorful bite knowing what’s in it!
Why You’ll Love This Recipe
- Quick preparation time: With just 20 minutes of prep, you’ll be on your way to a delicious dessert in no time!
- Unique flavor combination: The pairing of mulberries and Earl Grey tea creates an unforgettable taste that’s both refreshing and elegant.
- Perfect for gatherings: This cheesecake is a showstopper! It’s sure to impress your friends and family at any occasion.
- Vegetarian-friendly: Made without any meat or fish, it’s a great dessert option for vegetarian guests!
- Deliciously creamy texture: The creamy filling melts in your mouth, making every bite utterly delightful!
Tips for Success
Alright, let’s make sure your Mulberry & Earl Grey Cheesecake turns out absolutely perfect! Here are some of my top tips to help you nail this recipe:
- Use fresh mulberries: If you can find them, fresh mulberries will really elevate the flavor and texture of your cheesecake. They add a burst of freshness that frozen ones can sometimes lack.
- Steep the tea bags longer: For a more pronounced Earl Grey flavor, don’t hesitate to steep the tea bags a bit longer in hot water before mixing them in. Just be careful not to overdo it, or it might get too strong!
- Don’t rush the cooling: After baking, let the cheesecake cool completely at room temperature before refrigerating. This helps it set properly and develop those lovely flavors.
- Garnish with extra mulberries: When you’re ready to serve, sprinkle some additional fresh mulberries on top. Not only does it look gorgeous, but it also adds a lovely pop of flavor!
- Use room temperature ingredients: Make sure your cream cheese and eggs are at room temperature before you start mixing. This helps create a smooth and creamy filling without lumps.
Follow these tips, and you’ll be on your way to a cheesecake that’s not only delicious but also visually stunning. Happy baking!
Variations
If you’re feeling adventurous, there are plenty of ways to give this Mulberry & Earl Grey Cheesecake your own twist! Here are some fun variations to consider:
- Different Fruits: Swap out mulberries for other berries like raspberries or blueberries for a similar tartness. You could even try peaches or strawberries for a sweeter touch!
- Other Types of Tea: Experiment with different teas! Chamomile or chai would create a whole new flavor profile. Just be sure to adjust the steeping time based on the tea you choose.
- No-Bake Version: Want to skip the oven? No problem! You can make a no-bake version by mixing the cream cheese with whipped cream instead of baking it. Just let it set in the fridge until firm—so easy!
- Citrus Zing: Add a splash of lemon or orange zest to the filling for a refreshing citrus note that pairs beautifully with the tea flavors.
- Chocolate Drizzle: For a decadent touch, melt some dark chocolate and drizzle it over the top before serving. It adds a rich contrast to the fruity cheesecake!
Feel free to mix and match these ideas to create your own signature cheesecake. The possibilities are endless, and I can’t wait to hear what you come up with!
Serving Suggestions
Now that you’ve whipped up this delightful Mulberry & Earl Grey Cheesecake, let’s talk about the best ways to serve it! Pairing it with the right accompaniments can elevate your dessert experience to a whole new level.
- Fresh Brewed Earl Grey Tea: Why not stick with the theme? A steaming cup of Earl Grey tea will complement the cheesecake beautifully, enhancing those lovely flavors we’ve baked in.
- Coffee: A rich, dark roast coffee pairs wonderfully with the creamy texture of the cheesecake. The bitterness of the coffee balances the sweetness, making every bite even more enjoyable!
- Fresh Fruit Salad: A light and refreshing fruit salad with seasonal fruits like strawberries, blueberries, and kiwi adds a nice contrast to the rich cheesecake. The freshness will brighten up your dessert spread!
- Whipped Cream: A dollop of lightly sweetened whipped cream on top adds an airy texture that contrasts nicely with the dense cheesecake. Plus, it looks so pretty!
- Berry Compote: Drizzle some homemade berry compote over each slice for an extra burst of flavor. It’s an easy way to bring out the mulberry taste even more and add a beautiful touch!
So, whether you’re hosting a tea party or enjoying a quiet dessert at home, these suggestions will make your Mulberry & Earl Grey Cheesecake shine even brighter. Enjoy every delicious moment!
Storage & Reheating Instructions
Alright, let’s talk about how to keep your Mulberry & Earl Grey Cheesecake fresh and delicious! Storing it properly is key to maintaining that creamy texture and fabulous flavor. Here’s what you need to know:
- Refrigeration: Once your cheesecake has chilled for at least 4 hours, you can cover it with plastic wrap or aluminum foil and keep it in the fridge. It’ll stay fresh for up to 5 days—if it lasts that long!
- Portioning: If you know you won’t be finishing it all at once, consider slicing it into individual servings before storing. This makes it super easy to grab a slice whenever the craving strikes!
- Freezing: Want to save some for later? You can freeze the cheesecake! Just wrap each slice tightly in plastic wrap and then place them in an airtight container. It’ll keep well in the freezer for up to 2 months. When you’re ready to indulge again, just thaw it in the fridge overnight.
- No Reheating Needed: As for reheating, there’s no need to put it back in the oven. Cheesecake is best enjoyed chilled, so simply take it out of the fridge and let it sit at room temperature for about 15 minutes before serving. This helps soften it just a bit, making it even more delightful!
By following these storage tips, your Mulberry & Earl Grey Cheesecake will be just as delicious as the day you made it. So go ahead, make the most of every creamy bite!
Print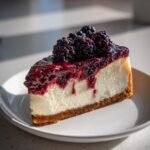
Mulberry & Earl Grey Cheesecake: 5 Irresistible Secrets
- Total Time: 4 hours 10 minutes
- Yield: 8 servings 1x
- Diet: Vegetarian
Description
A delicious cheesecake combining the flavors of mulberry and Earl Grey tea.
Ingredients
- 200g digestive biscuits
- 100g unsalted butter, melted
- 400g cream cheese
- 100g sugar
- 2 large eggs
- 200ml sour cream
- 1 cup mulberries
- 2 bags Earl Grey tea
- 1 teaspoon vanilla extract
Instructions
- Preheat the oven to 160°C (320°F).
- Crush the digestive biscuits and mix with melted butter.
- Press the mixture into the bottom of a springform pan.
- In a bowl, beat cream cheese and sugar until smooth.
- Add eggs one at a time, mixing well after each addition.
- Stir in sour cream, steeped Earl Grey tea, and vanilla extract.
- Fold in mulberries gently.
- Pour the mixture over the biscuit base.
- Bake for 45-50 minutes or until set.
- Let it cool and refrigerate for at least 4 hours before serving.
Notes
- Use fresh or frozen mulberries.
- For a stronger tea flavor, steep the tea bags longer.
- Top with extra mulberries for garnish.
- Prep Time: 20 minutes
- Cook Time: 50 minutes
- Category: Dessert
- Method: Baking
- Cuisine: Fusion
Nutrition
- Serving Size: 1 slice
- Calories: 350
- Sugar: 20g
- Sodium: 200mg
- Fat: 22g
- Saturated Fat: 12g
- Unsaturated Fat: 8g
- Trans Fat: 0g
- Carbohydrates: 30g
- Fiber: 1g
- Protein: 5g
- Cholesterol: 90mg
Keywords: Mulberry, Earl Grey, Cheesecake, Dessert