

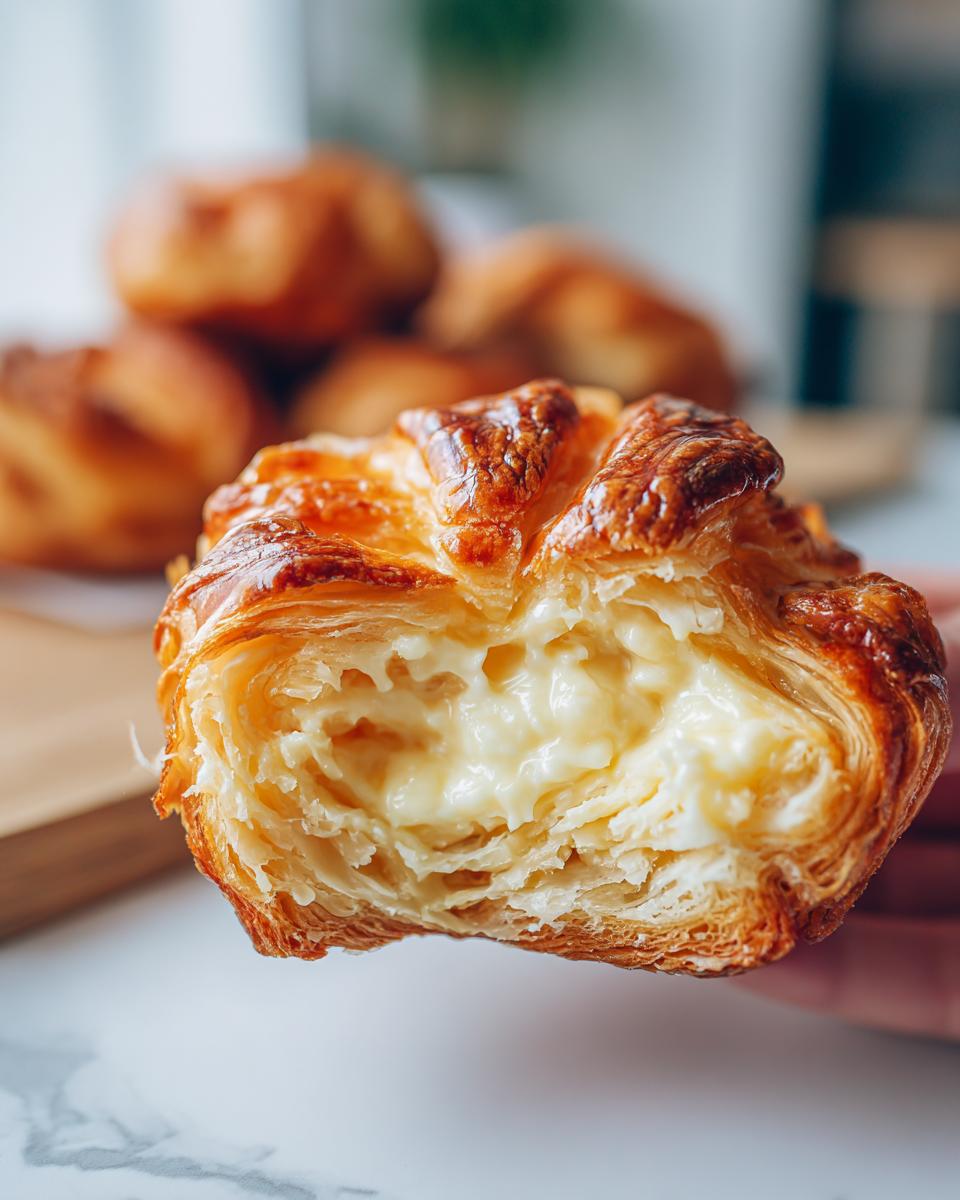
Oh my goodness, let me tell you about these cheese danishes! They’re the perfect blend of flaky pastry and sweet, creamy filling that just makes my heart sing. Seriously, there’s nothing quite like biting into one of these delightful treats, especially with my morning coffee. What I love most about this cheese danish delight recipe is how easy it is to whip up! You don’t need to be a pastry chef to impress your family or friends. Just a few simple ingredients and a little bit of love, and you’ve got yourself a breakfast or dessert that feels fancy but comes together in a snap. Trust me, once you try these, you’ll be hooked!
Ingredients List
Here’s what you’ll need to bring this delicious cheese danish delight recipe to life:
- 1 package of puff pastry (thawed) – Make sure it’s completely thawed before using. I usually leave it in the fridge overnight or on the counter for about 30 minutes.
- 8 oz cream cheese (softened) – Let it sit at room temperature for about 30 minutes before mixing. This ensures a smooth filling without any lumps!
- 1/4 cup sugar – This will add just the right amount of sweetness to the cream cheese mixture.
- 1 tsp vanilla extract – A splash of vanilla brings out the flavors beautifully; don’t skip it!
- 1 egg (beaten) – You’ll use this to brush on top for that lovely golden finish.
- 1 tbsp milk – Mixing this with the egg gives the pastry a nice shine and helps it brown perfectly.
How to Prepare Instructions
Now, let’s dive into making these scrumptious cheese danishes! Follow these simple steps for a delightful result:
- Preheat your oven to 375°F (190°C). This is a crucial step to ensure your pastries bake evenly and achieve that perfect golden color.
- Roll out the puff pastry on a lightly floured surface. You want it to be about 1/8 inch thick. This makes it easier to work with and allows for those lovely layers to puff up!
- Cut the pastry into squares. Aim for about 4×4 inches; this size gives you enough room for filling and folding.
- Mix your filling. In a medium bowl, combine the softened cream cheese, sugar, and vanilla extract. Stir until it’s smooth and creamy—no lumps allowed!
- Fill the pastry squares. Place a generous spoonful of your cream cheese mixture right in the center of each square. Don’t be shy; a good dollop makes all the difference!
- Fold the corners of the pastry over the filling, creating a little pocket. Pinch the edges to seal them well, so the filling doesn’t ooze out while baking.
- Brush the tops with the beaten egg mixed with milk. This will give your danishes that beautiful, shiny finish once they’re baked.
- Bake in the preheated oven for 20-25 minutes, or until they’re golden brown and puffed up. Keep an eye on them towards the end to avoid overbaking!
- Let cool for a few minutes before serving. This helps the filling set a bit, and they’ll be easier to handle. Plus, you won’t burn your tongue!
Why You’ll Love This Recipe
- Quick Preparation: You can whip these up in no time, making them perfect for busy mornings or last-minute guests.
- Delicious Flavor: The combination of sweet cream cheese and flaky pastry is simply irresistible—trust me, they’ll disappear fast!
- Versatile Serving Options: Enjoy them warm for breakfast, as a delightful snack, or fancy them up with fruit toppings for dessert.
- Impressive Presentation: With their golden color and beautiful shape, they look like they came from a bakery, but you made them!
- Kid-Friendly: Kids love these treats! They’re fun to eat and perfect for family brunches.
Tips for Success
To make sure your cheese danish delight recipe turns out absolutely perfect, here are some handy tips I’ve picked up over the years:
- Keep the pastry cold: Working with cold puff pastry is key! It helps maintain those flaky layers. If it warms up too much, pop it back in the fridge for a few minutes before you roll it out.
- Don’t overcrowd the filling: A generous spoonful of filling is great, but don’t overdo it! Leaving a little space around the edges will help ensure that your pastries seal properly.
- Use parchment paper: Line your baking sheet with parchment paper to prevent sticking and make cleanup a breeze. Plus, it helps the pastries brown evenly!
- Check for doneness: Ovens can vary, so start checking your danishes a couple of minutes before the timer goes off. You want that gorgeous golden brown color!
- Let them cool: Allowing your danishes to cool slightly on a wire rack helps them set and keeps the filling from being too hot to handle. Plus, it makes them easier to eat!
Variations
If you’re looking to switch things up with your cheese danish delight recipe, I’ve got some fun ideas for you! These variations are super easy to incorporate, and they’ll add a delightful twist to your classic danish:
- Fruit Toppings: Add a dollop of your favorite fruit preserves or fresh fruit like berries, peaches, or apples on top of the cream cheese filling before folding the pastry.
- Cinnamon Sugar: Mix a little cinnamon with sugar and sprinkle it on top of the pastry before baking for a warm, spiced flavor that’s oh-so-delicious!
- Chocolate Chip Delight: Fold in some mini chocolate chips into the cream cheese filling for a rich, chocolatey surprise in every bite.
- Lemon Zest: Add a teaspoon of lemon zest to the cream cheese mixture for a refreshing, citrusy twist that brightens up the flavors.
- Nutty Crunch: Incorporate finely chopped nuts like pecans or almonds into the filling for added texture and a nutty flavor that pairs beautifully with the cream cheese.
Storage & Reheating Instructions
Once you’ve made these delightful cheese danishes, you’ll probably want to keep some for later, and that’s totally doable! Here’s how to store and reheat them so they stay delicious:
- Storage: Place any leftover danishes in an airtight container and store them in the refrigerator. They’ll keep well for about 3 days, but trust me, they might not last that long!
- Reheating: To enjoy them warm again, preheat your oven to 350°F (175°C) and place the danishes on a baking sheet. Heat for about 10-15 minutes until they’re warmed through and flaky. This method really brings back that fresh-from-the-oven taste!
- Microwave method: If you’re in a hurry, you can pop one in the microwave for about 15-20 seconds. Just be careful not to overheat them, or you’ll lose that lovely flaky texture!
Whether you’re enjoying them fresh or reheated, these cheese danishes are bound to bring a smile to your face!
Nutritional Information
When it comes to enjoying these scrumptious cheese danishes, you might be wondering about the nutritional details. Keep in mind that nutrition can vary based on the specific ingredients and brands you use, so these values are just an estimate:
- Calories: 210 per danish
- Fat: 12g
- Saturated Fat: 6g
- Trans Fat: 0g
- Cholesterol: 40mg
- Sodium: 150mg
- Carbohydrates: 24g
- Fiber: 1g
- Protein: 3g
- Sugar: 5g
So, whether you’re treating yourself to one for breakfast or serving them up for brunch, you can enjoy these cheese danishes without too much guilt! Just remember, moderation is key to enjoying all the deliciousness they have to offer!
FAQ Section
Can I use homemade puff pastry instead of store-bought?
Absolutely! If you’re feeling adventurous and want to make your own pastry, go for it! Just remember that homemade pastry might need a bit more time in the oven to achieve that perfect golden brown color.
What can I use if I don’t have cream cheese?
If cream cheese isn’t available, you can try ricotta cheese for a lighter filling, or even mascarpone for a richer texture. Just make sure to adjust the sugar based on your cheese’s sweetness!
How do I prevent the filling from leaking out?
The key is to seal the edges well after folding the pastry. Also, don’t overfill each danish; a generous spoonful is great, but too much can lead to a mess in the oven!
What’s the best way to serve these cheese danishes?
They’re fantastic warm, right out of the oven! You can dust them with powdered sugar, drizzle with icing, or serve them alongside fresh fruit for a lovely breakfast or brunch spread.
Can I freeze the cheese danishes after baking?
Yes, you can! Just let them cool completely, then store them in an airtight container. They’ll keep well in the freezer for up to a month. To enjoy, just reheat them in the oven for that fresh-baked taste!

Cheese Danish Delight Recipe: 5 Reasons You’ll Love Them
- Total Time: 45 minutes
- Yield: 12 servings 1x
Description
A delicious cheese danish filled with sweet cream cheese and flaky pastry.
Ingredients
- 1 package of puff pastry (thawed)
- 8 oz cream cheese (softened)
- 1/4 cup sugar
- 1 tsp vanilla extract
- 1 egg (beaten)
- 1 tbsp milk
Instructions
- Preheat your oven to 375°F (190°C).
- Roll out the puff pastry on a floured surface.
- Cut pastry into squares.
- In a bowl, mix cream cheese, sugar, and vanilla.
- Place a spoonful of the cream cheese mixture in the center of each pastry square.
- Fold the corners of the pastry over the filling.
- Brush the tops with the egg and milk mixture.
- Bake for 20-25 minutes until golden brown.
- Let cool before serving.
Notes
- Serve warm for best flavor.
- Can add fruit toppings if desired.
- Store leftovers in the refrigerator.
- Prep Time: 20 minutes
- Cook Time: 25 minutes
- Category: Dessert
- Method: Baking
- Cuisine: American
Nutrition
- Serving Size: 1 danish
- Calories: 210
- Sugar: 5g
- Sodium: 150mg
- Fat: 12g
- Saturated Fat: 6g
- Unsaturated Fat: 4g
- Trans Fat: 0g
- Carbohydrates: 24g
- Fiber: 1g
- Protein: 3g
- Cholesterol: 40mg
Keywords: cheese danish delight recipe