
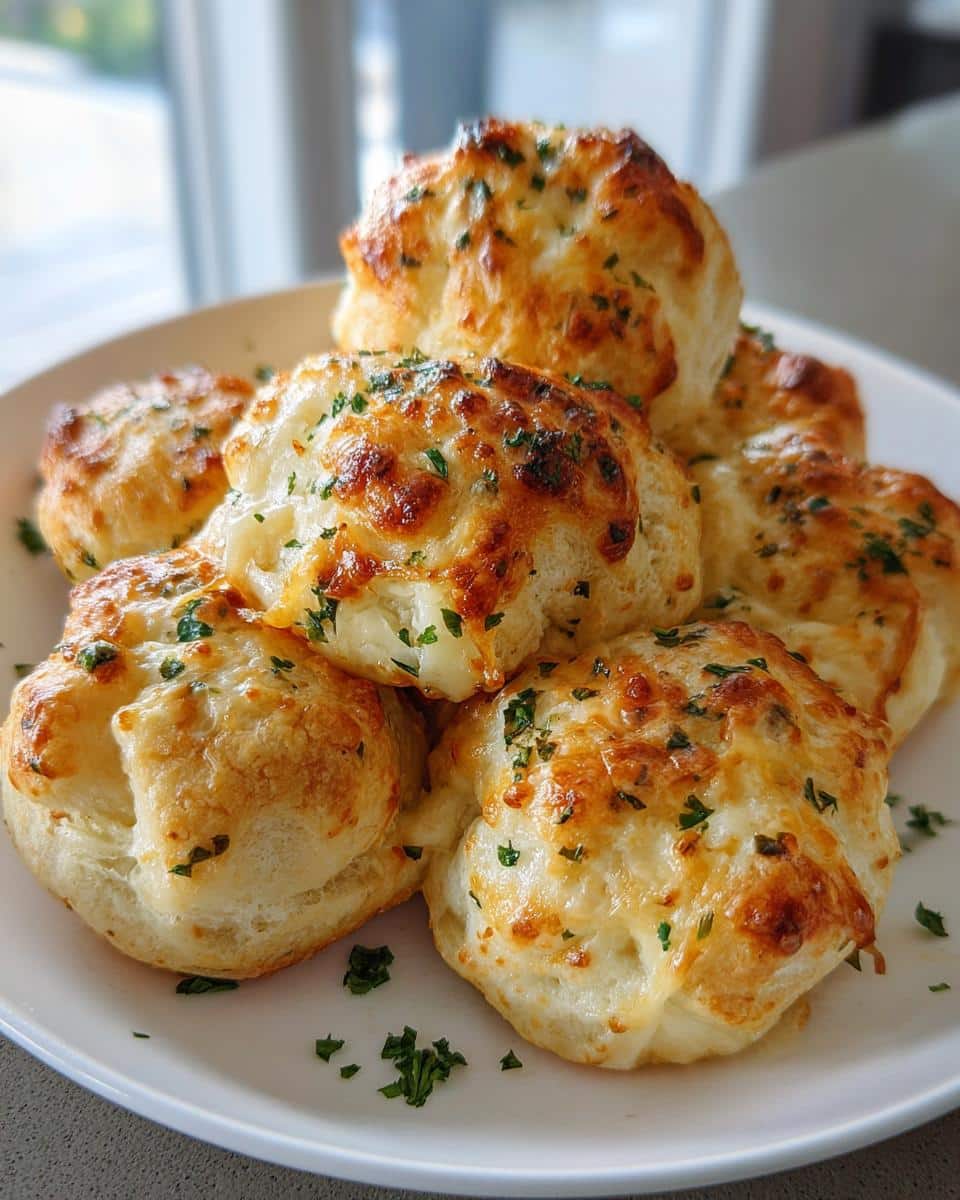
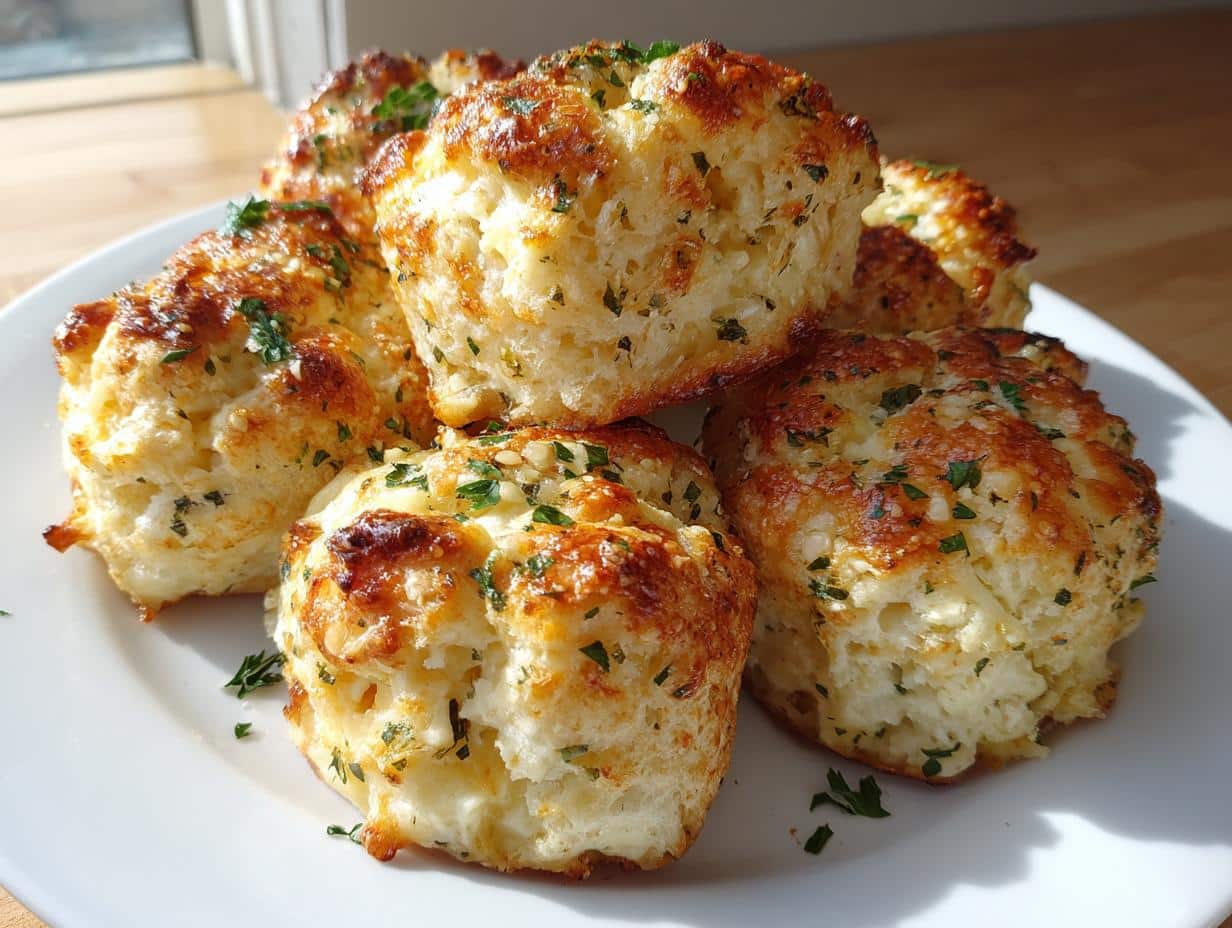
Oh my goodness, let me tell you about these Garlic Herb Cheese Bombs! They are just bursting with flavor and the ultimate treat for any cheese lover. Imagine warm, gooey cheese wrapped in a soft, fluffy biscuit—it’s pure bliss! These little bites are perfect for entertaining guests or just enjoying a cozy night in. I love whipping them up for a game day snack or even for a casual gathering with friends. Trust me, they’ll disappear faster than you can say “cheese”! You can serve them with your favorite dipping sauce, or enjoy them on their own. Once you try these Garlic Herb Cheese Bombs, you’ll wonder how you ever lived without them!
Ingredients List
- 1 can refrigerated biscuit dough
- 8 oz cream cheese, softened (this is key for easy mixing!)
- 1 cup shredded mozzarella cheese
- 2 cloves garlic, minced (more garlic, more flavor!)
- 2 tablespoons fresh parsley, chopped (adds a lovely touch of freshness)
- 1 teaspoon Italian seasoning
- 1/4 cup melted butter (for that irresistible golden finish)
- 1/2 teaspoon salt
How to Prepare Garlic Herb Cheese Bombs
Making these Garlic Herb Cheese Bombs is a breeze! Just follow these simple steps, and soon you’ll have a platter of warm, cheesy goodness that’ll make everyone swoon. Let’s dive in!
Step-by-Step Instructions
- Preheat your oven: Start by preheating your oven to 375°F (190°C). This ensures your cheese bombs bake evenly and turn golden brown.
- Mix the filling: In a mixing bowl, combine the softened cream cheese, shredded mozzarella, minced garlic, chopped parsley, Italian seasoning, and salt. Make sure everything is well mixed—this is where all the flavor comes from!
- Prepare the biscuit dough: Open the can of refrigerated biscuit dough. Be careful! It can pop open with quite a bang, so keep your fingers clear!
- Flatten the biscuits: Take each biscuit and gently flatten it using your hands or a rolling pin. You want enough space to hold that delicious filling.
- Add the filling: Spoon a generous dollop of the cheese mixture right in the center of each flattened biscuit. Don’t skimp here; the more cheese, the better!
- Seal them up: Carefully wrap the biscuit dough around the cheese filling, pinching the edges to seal. You want to make sure no cheese sneaks out while baking!
- Butter them up: Roll each sealed cheese bomb in melted butter. This gives them that irresistible golden color and rich flavor.
- Bake: Place the cheese bombs on a baking sheet lined with parchment paper, making sure to give them some space. Bake for about 15-20 minutes, or until they’re golden brown. Keep an eye on them toward the end so they don’t get too dark!
- Cool slightly: Once they’re out of the oven, let them cool for a few minutes. This helps the cheese set a little, and trust me, you don’t want to burn your mouth on that melty goodness!
And there you have it—your very own Garlic Herb Cheese Bombs! They’re ready to be devoured, so gather your friends, and enjoy every cheesy bite!
Tips for Success
If you want your Garlic Herb Cheese Bombs to be absolutely perfect, here are some of my favorite tips! First, make sure your cream cheese is really softened; it’ll mix much easier and create a smooth filling. I like to take it out of the fridge about 30 minutes before I start. Also, don’t be afraid to get creative with your filling! Try mixing in some cooked bacon, or switch up the herbs based on what you have on hand. If you’re baking more than one tray, rotate them halfway through to ensure even cooking. Finally, keep an eye on the baking time—every oven is different! Look for that lovely golden-brown color, and remember, they’ll keep cooking a bit after you take them out. Happy baking!
Variations of Garlic Herb Cheese Bombs
One of the best things about Garlic Herb Cheese Bombs is how versatile they are! You can easily customize them to fit your cravings or whatever you have on hand. For a twist, try using different cheeses like sharp cheddar or creamy goat cheese for a unique flavor experience. If you’re feeling adventurous, add some crumbled feta for a Mediterranean flair!
Don’t stop there—switch up the herbs too! Fresh basil or cilantro can add a delightful freshness. For a little kick, consider mixing in some chopped jalapeños or red pepper flakes. You can even make a sweet version by swapping the cheese for a mix of cream cheese and a bit of honey, then adding cinnamon. The possibilities are endless, so have fun experimenting!
Serving Suggestions
When it comes to serving your Garlic Herb Cheese Bombs, the right accompaniments can take your snack experience to a whole new level! I love serving them warm with a side of marinara sauce for dipping—it’s like a cheesy, Italian-inspired treat! You could also whip up a zesty garlic aioli to complement the flavors beautifully.
If you’re feeling a bit more adventurous, try pairing them with a fresh garden salad drizzled with balsamic vinaigrette. The crispness of the salad balances out the richness of the cheese bombs perfectly. And for those cozy nights in, why not enjoy them with a glass of your favorite wine? A nice white or light red can really enhance the flavors of these delightful bites. Trust me, whatever you choose to serve alongside will only make these little cheese wonders shine even brighter!
Storage & Reheating Instructions
To keep your Garlic Herb Cheese Bombs fresh and delicious, store any leftovers in an airtight container in the fridge. They should last for about 3-4 days, but trust me, they probably won’t stick around that long! If you want to make them ahead of time, you can freeze unbaked cheese bombs. Just assemble them, then place them on a baking sheet in the freezer for about an hour until they’re firm. Once frozen, transfer them to a zip-top bag, and they’ll keep well for up to 2 months.
When you’re ready to enjoy your frozen bombs, there’s no need to thaw them! Just pop them directly into the preheated oven, adding a few extra minutes to the baking time. This way, you’ll have that fresh, cheesy goodness ready to munch on in no time. Happy snacking!
Nutritional Information
When it comes to indulging in Garlic Herb Cheese Bombs, it’s always good to know what you’re getting in each delightful bite! Each cheese bomb is approximately 150 calories, making them a satisfying snack without going overboard. They contain about 10 grams of fat, including 5 grams of saturated fat, which gives them that rich, creamy texture we all love.
You’ll also find around 4 grams of protein in each serving, perfect for keeping you fueled through the day. With just 12 grams of carbohydrates and 1 gram of sugar, they fit nicely into a balanced diet. Remember, these values are estimates, so feel free to customize your ingredients and adjust accordingly. Enjoy every cheesy moment guilt-free!
FAQ Section
Can I use different types of cheese?
Absolutely! While I love the classic combination of cream cheese and mozzarella, you can mix it up! Feel free to experiment with cheeses like cheddar, gouda, or even pepper jack for a spicy kick. Just remember to adjust the seasoning accordingly to complement the flavors.
How should I store leftovers?
To keep your Garlic Herb Cheese Bombs fresh, store any leftovers in an airtight container in the refrigerator. They’ll last about 3-4 days, but I doubt they’ll stick around that long! If you want to make them ahead of time, you can freeze them before baking for a quick snack later.
What’s the best way to reheat them?
Reheating is super easy! Just pop them in the oven at 350°F (175°C) for about 10-15 minutes until they’re warmed through. You can even microwave them, but they won’t have that lovely crispness. So, if you have the time, I recommend the oven!
Can I make these ahead of time?
Definitely! You can assemble the cheese bombs ahead of time and keep them in the fridge for up to a day before baking. If you’re planning to freeze them, just remember to bake them straight from the freezer—no need to thaw!
What dips pair well with these cheese bombs?
Oh, there are so many delicious options! I love serving them with marinara sauce for a classic touch, but a homemade garlic aioli or even a spicy ranch dressing can elevate your snack game. Get creative and find your favorite pairing!
Garlic Herb Cheese Bombs: 7 Cheesy Delights to Savor
- Total Time: 35 minutes
- Yield: 12 servings 1x
- Diet: Vegetarian
Description
Delicious garlic herb cheese bombs are perfect for a savory snack.
Ingredients
- 1 can refrigerated biscuit dough
- 8 oz cream cheese, softened
- 1 cup shredded mozzarella cheese
- 2 cloves garlic, minced
- 2 tablespoons fresh parsley, chopped
- 1 teaspoon Italian seasoning
- 1/4 cup melted butter
- 1/2 teaspoon salt
Instructions
- Preheat your oven to 375°F (190°C).
- In a bowl, mix cream cheese, mozzarella, garlic, parsley, Italian seasoning, and salt.
- Open the biscuit dough and separate it into individual biscuits.
- Flatten each biscuit and place a spoonful of the cheese mixture in the center.
- Wrap the biscuit around the filling and pinch to seal.
- Roll each ball in melted butter and place on a baking sheet.
- Bake for 15-20 minutes or until golden brown.
- Let cool slightly before serving.
Notes
- Serve warm for best taste.
- Can be made ahead and frozen before baking.
- Experiment with different cheeses or herbs.
- Prep Time: 15 minutes
- Cook Time: 20 minutes
- Category: Appetizer
- Method: Baking
- Cuisine: American
Nutrition
- Serving Size: 1 bomb
- Calories: 150
- Sugar: 1g
- Sodium: 350mg
- Fat: 10g
- Saturated Fat: 5g
- Unsaturated Fat: 3g
- Trans Fat: 0g
- Carbohydrates: 12g
- Fiber: 1g
- Protein: 4g
- Cholesterol: 20mg
Keywords: Garlic Herb Cheese Bombs, Cheese Snacks, Appetizers