
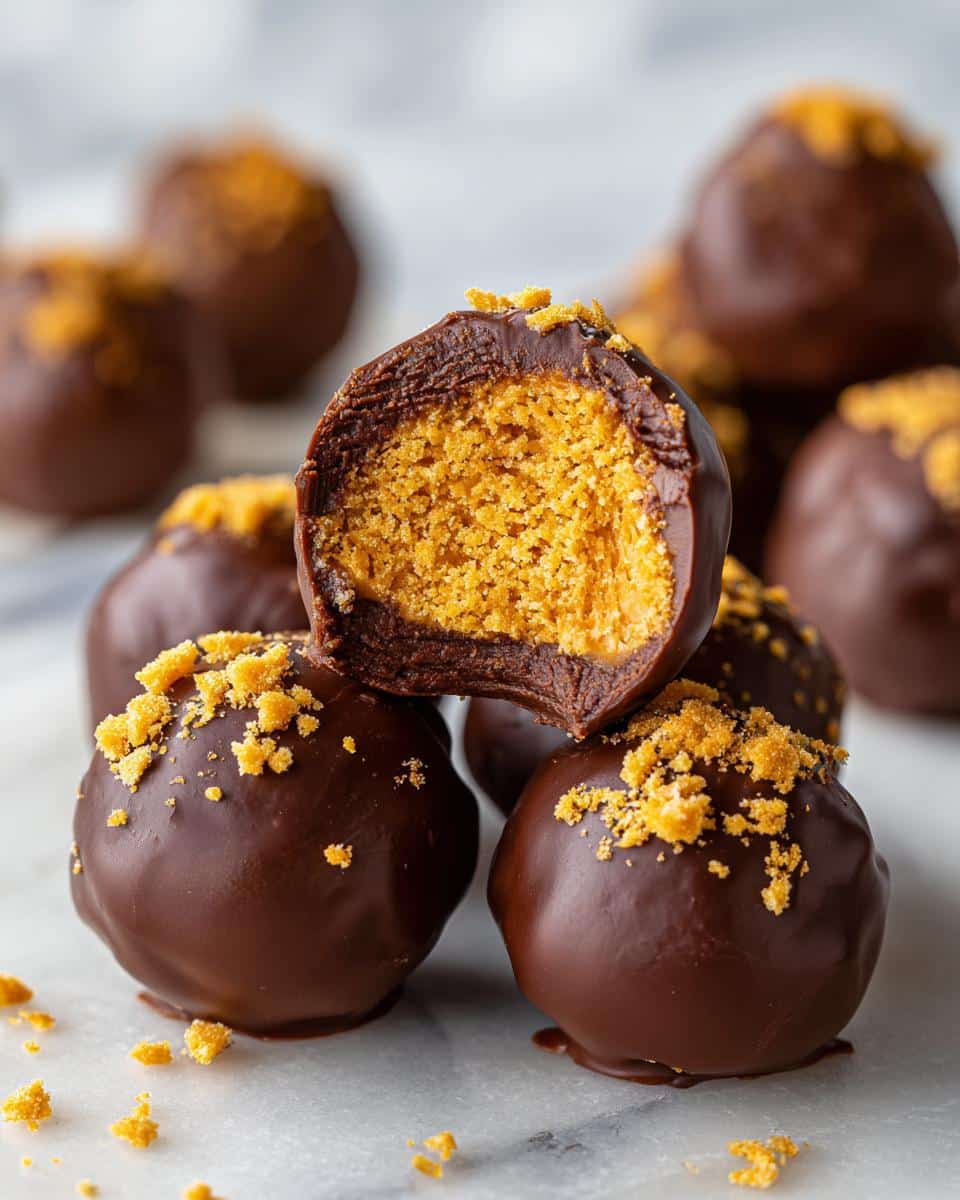
Oh my goodness, let me tell you about these *Butterfinger Balls*! They’re a no-bake dessert that’s just pure bliss wrapped in chocolate. Seriously, the combination of creamy peanut butter and rich chocolate will make your taste buds dance with joy! I remember the first time I made these for a family gathering. My cousin couldn’t stop eating them, and I had to hide them just to save some for the rest of the party! They’re super easy to whip up—just a few simple ingredients, and you’re on your way to a sweet treat that everyone will adore. Trust me, once you try these, you’ll be hooked!
Ingredients List
- 1 cup peanut butter
- 1 cup powdered sugar
- 2 cups crushed graham crackers
- 1 cup chocolate chips
- 2 tablespoons butter
How to Prepare Butterfinger Balls
Getting these *Butterfinger Balls* ready is a breeze, and I promise you’ll have them whipped up in no time! Here’s how to do it step-by-step:
Step-by-Step Instructions
- First, in a large mixing bowl, combine 1 cup of peanut butter and 1 cup of powdered sugar. I like to use a spatula for this because it helps get everything mixed without making a mess. Mix until it forms a thick, sticky dough.
- Next, add in the 2 cups of crushed graham crackers. This is where the magic happens! The crushed crackers add that delightful crunch and help bind everything together. Stir well until fully incorporated. You might need to get in there with your hands to really combine it all—trust me, it’s worth it!
- Now, it’s time to form the mixture into small balls. I usually aim for about 1-inch in diameter, but you can make them whatever size you like. Just remember, smaller ones are perfect for popping in your mouth!
- In a microwave-safe bowl, melt 1 cup of chocolate chips and 2 tablespoons of butter together. Heat in 30-second intervals, stirring in between until smooth. Be careful not to overheat it, or your chocolate might seize up!
- Once melted, dip each ball into the chocolate, making sure to coat them completely. I use a fork for this—it helps shake off any excess chocolate and keeps your fingers clean (well, mostly!).
- Finally, place the chocolate-covered balls onto a sheet of wax paper and let them cool until the chocolate hardens. You can pop them in the fridge for about 10-15 minutes if you’re impatient like me!
And there you have it! Simple, satisfying, and oh-so-delicious *Butterfinger Balls* ready to be devoured!
Why You’ll Love This Recipe
- Quick and easy preparation—ready in just 15 minutes!
- No-bake goodness means less mess and more fun!
- Irresistible combination of chocolate and peanut butter.
- Perfect for parties, snacks, or a sweet treat anytime.
- Versatile—great for customizing with your favorite flavors!
Tips for Success
To make the perfect *Butterfinger Balls*, a few little tips can make a world of difference! First off, always use creamy peanut butter for that smooth texture—trust me, it makes mixing a breeze. When you’re combining the powdered sugar and peanut butter, be sure to mix thoroughly to avoid any lumps; nobody wants a surprise in their sweet treat!
For melting the chocolate, patience is key! Heat it in short bursts of 30 seconds in the microwave, stirring in between. This way, you’ll prevent it from seizing up, and you’ll end up with that silky chocolate coating we all love. If your chocolate does seize, a splash of coconut oil can sometimes save the day! And don’t forget, using quality chocolate chips will elevate the flavor of your *Butterfinger Balls*—it’s worth the splurge! Happy rolling!
Variations
If you’re feeling adventurous, there are so many fun ways to switch up these *Butterfinger Balls*! For a different flavor experience, try using dark chocolate instead of milk chocolate—it’s rich and oh-so-decadent! You can also add in some chopped nuts, like almonds or walnuts, for an added crunch that complements the creamy texture so well.
Feeling fruity? A splash of vanilla extract or even a bit of almond extract in the mixture can really elevate the taste. You could also roll them in crushed nuts or sprinkles for a festive touch. The possibilities are endless, and I can’t wait for you to experiment!
Storage & Reheating Instructions
Storing your delicious *Butterfinger Balls* is super easy! Just pop them in an airtight container and keep them in the refrigerator. They’ll stay fresh and tasty for up to a week—perfect for those late-night cravings or when you need a quick snack! Just remember, these little gems are best enjoyed cold, so there’s no need to reheat them. If you’re like me and love to have a stash on hand, you can even double the recipe and enjoy them throughout the week. Yum!
Nutritional Information
Here’s the estimated nutritional breakdown for each *Butterfinger Ball*, so you know what you’re enjoying with every delicious bite:
- Calories: 120
- Fat: 7g
- Saturated Fat: 3g
- Unsaturated Fat: 4g
- Trans Fat: 0g
- Cholesterol: 5mg
- Sodium: 50mg
- Carbohydrates: 12g
- Fiber: 1g
- Sugar: 10g
- Protein: 3g
Keep in mind, this is just an estimate, but it gives you a great sense of what’s in each delightful ball! Enjoy them as a treat in moderation, and let the sweet flavors shine through!
FAQ Section
Can I use crunchy peanut butter instead of creamy?
Absolutely! If you love that extra crunch, go for it! Just keep in mind that the texture will be a bit different, but it’ll still taste amazing.
Can I make these *Butterfinger Balls* ahead of time?
Yes, they’re perfect for making ahead! Just store them in an airtight container in the fridge until you’re ready to enjoy. They actually get better as the flavors meld together!
How do I make my chocolate coating smoother?
If you find your chocolate is a bit thick, try adding a teaspoon of coconut oil to the melted chocolate. It’ll help thin it out and give you that gorgeous glossy finish!
Can I substitute the graham crackers?
Definitely! You can use crushed cookies like Oreos for a fun twist or even gluten-free graham crackers if you need a gluten-free option. Just adjust based on your preference!
What’s the best way to serve these little treats?
You can serve them chilled for the best flavor! They’re fantastic for parties, potlucks, or just as a sweet snack whenever you need a pick-me-up. Watch them disappear!

Butterfinger Balls: 5 Irresistibly Sweet Delights Await
- Total Time: 15 minutes
- Yield: 24 balls 1x
- Diet: Vegetarian
Description
Delicious no-bake dessert balls made with peanut butter and chocolate.
Ingredients
- 1 cup peanut butter
- 1 cup powdered sugar
- 2 cups crushed graham crackers
- 1 cup chocolate chips
- 2 tablespoons butter
Instructions
- Mix peanut butter and powdered sugar in a bowl.
- Add crushed graham crackers and mix well.
- Form the mixture into small balls.
- Melt chocolate chips and butter in a microwave.
- Dip each ball in melted chocolate.
- Place on wax paper to cool.
Notes
- Store in the refrigerator for up to a week.
- Use vegan chocolate for a dairy-free option.
- Prep Time: 15 minutes
- Cook Time: 0 minutes
- Category: Dessert
- Method: No-Bake
- Cuisine: American
Nutrition
- Serving Size: 1 ball
- Calories: 120
- Sugar: 10g
- Sodium: 50mg
- Fat: 7g
- Saturated Fat: 3g
- Unsaturated Fat: 4g
- Trans Fat: 0g
- Carbohydrates: 12g
- Fiber: 1g
- Protein: 3g
- Cholesterol: 5mg
Keywords: Butterfinger Balls, no-bake dessert, chocolate, peanut butter