
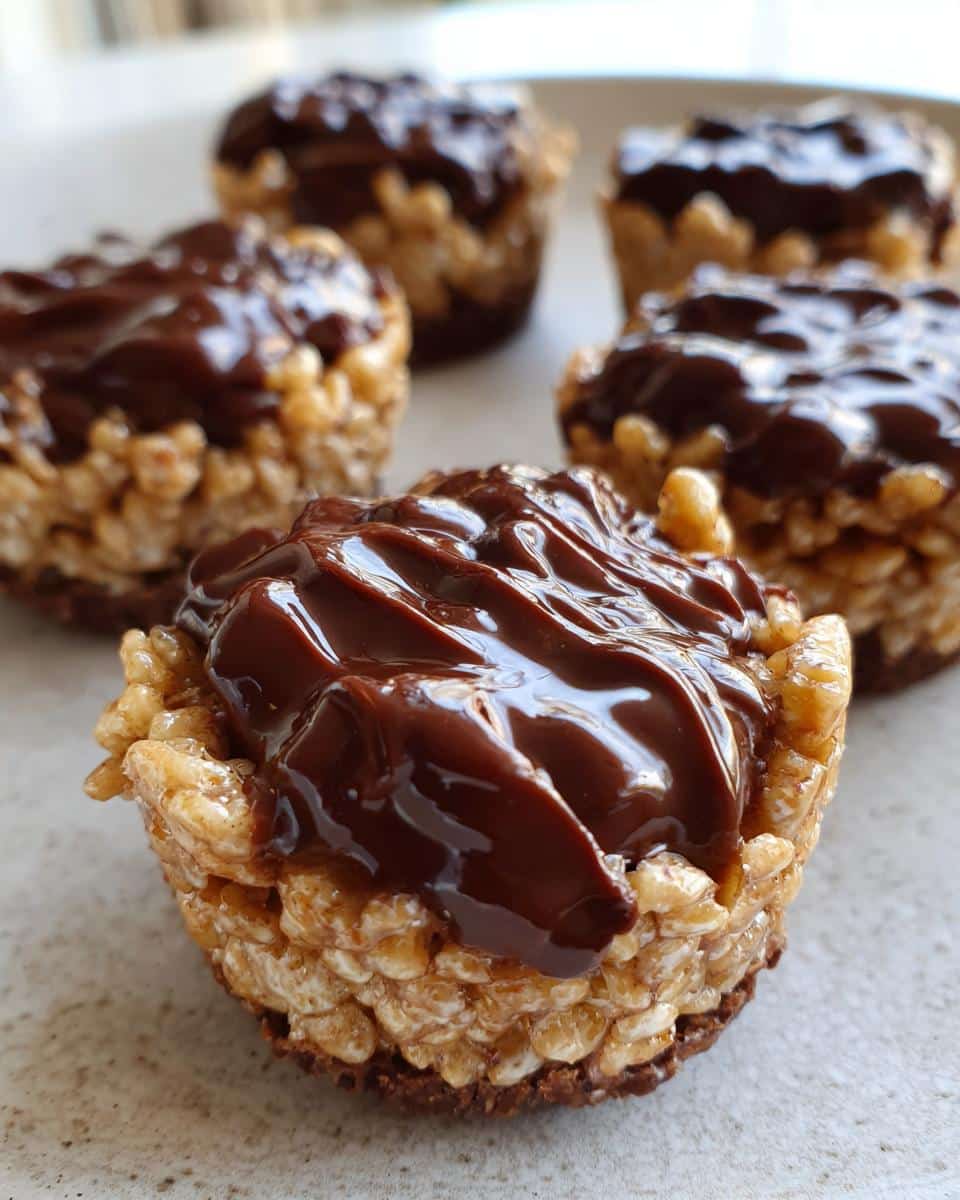
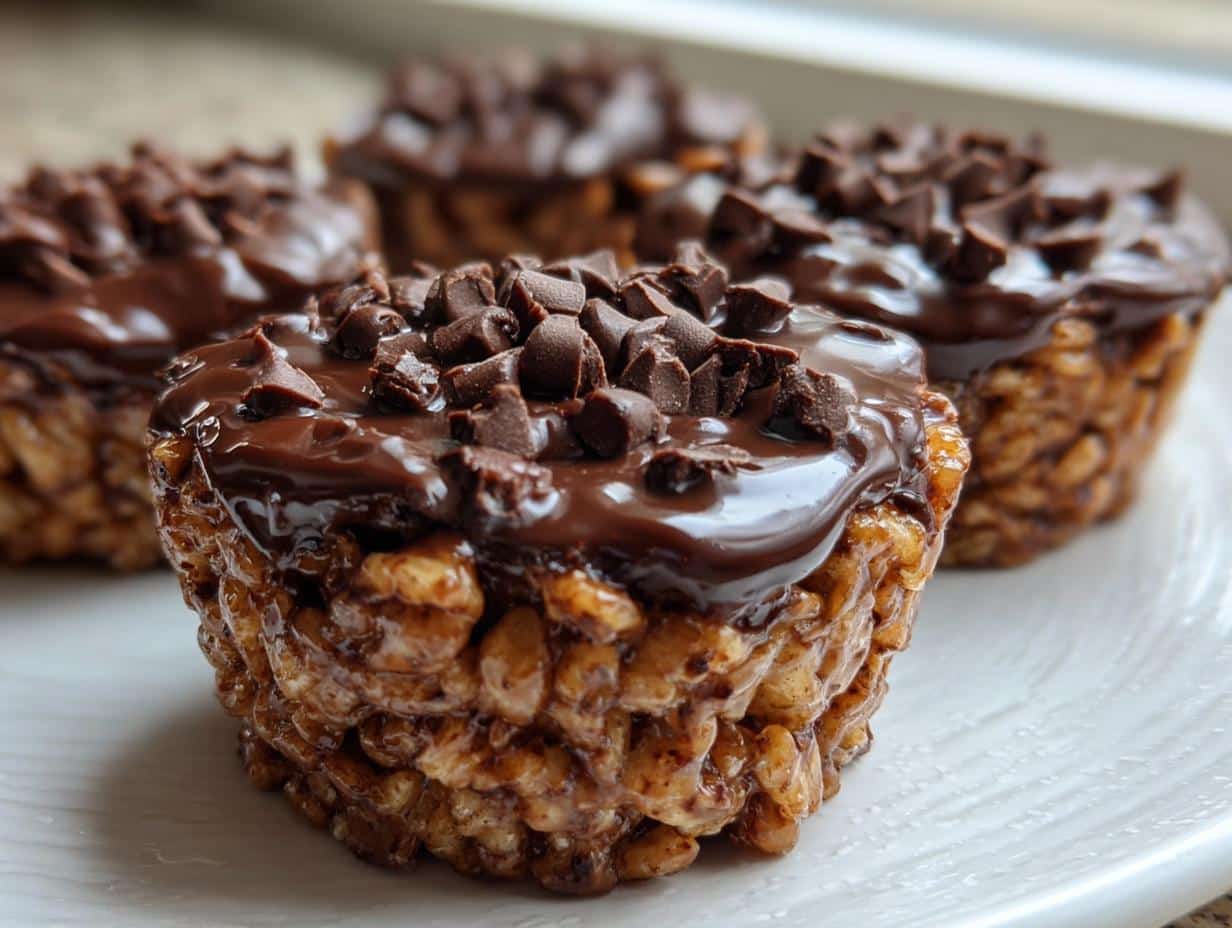
Oh my goodness, let me tell you about these Peanut Butter Chocolate Rice Krispie Treat Cups! They’re like a little hug for your taste buds, combining that irresistible crunch of Rice Krispies with rich, creamy peanut butter and a decadent layer of chocolate on top. I remember the first time I made them for a potluck. I was running late, and they literally took me just 25 minutes to whip up—no baking required! As soon as I set them out, they disappeared faster than I could say “treat!” Trust me, they’re super easy to make, and you’ll feel like a rock star when you see everyone enjoying them. You only need a handful of ingredients, and the best part? They’re totally customizable! Let’s dive into making these delightful cups that are perfect for any occasion.
Ingredients List
- 3 cups of Rice Krispies – These crispy little gems are the foundation of our treat cups, adding that delightful crunch and texture.
- 1 cup of creamy or crunchy peanut butter – Use whichever you prefer! Creamy gives a smooth finish, while crunchy adds a fun texture.
- 1 cup of chocolate chips – I love using semi-sweet for that perfect balance of sweetness, but feel free to choose your favorite!
- 1/2 cup of honey – This natural sweetener brings everything together and gives that lovely sticky consistency we need.
- 1 teaspoon of vanilla extract – A splash of vanilla adds a warm depth of flavor that makes these cups even more irresistible.
How to Prepare Peanut Butter Chocolate Rice Krispie Treat Cups
Step 1: Melt Peanut Butter and Honey
First things first, grab a saucepan and toss in your creamy or crunchy peanut butter along with the honey. Now, set your heat to low and gently melt them together. You’ll want to stir occasionally for about 3-5 minutes until it’s all smooth and gooey. The smell will be heavenly, trust me!
Step 2: Add Vanilla Extract
Once your peanut butter and honey mixture is all melty and combined, remove the saucepan from the heat. Now, it’s time to add that magic touch—stir in the teaspoon of vanilla extract. Give it a good mix to incorporate the vanilla. This little step adds so much flavor; you’re gonna love it!
Step 3: Combine with Rice Krispies
Next up, it’s time to bring in the Rice Krispies. Pour them into the saucepan and mix everything together until each crispy piece is fully coated in that delicious peanut butter mixture. This part is so much fun—make sure you get every last bit covered!
Step 4: Press Mixture into Muffin Cups
Now, grab your muffin cups (I love using silicone ones for easy removal) and start pressing the mixture firmly into each cup. You want to create a nice, solid base, so don’t be shy! Use your fingers or the back of a spoon to pack it down well. This is where the magic happens!
Step 5: Melt and Pour Chocolate
While your Rice Krispie mixture is setting, let’s melt those chocolate chips! You can do this in a microwave-safe bowl, heating them in 30-second intervals, stirring in between until they’re smooth and melted. Once melted, pour the chocolate over your pressed Rice Krispie cups, making sure to cover them generously. It’s like a chocolate blanket for your treats!
Step 6: Cool and Set
Finally, pop your muffin cups into the refrigerator and let them chill for about 30 minutes, or until the chocolate is set. This waiting part is the hardest! But once they’re ready, you’ll be rewarded with these scrumptious, bite-sized delights that everyone will adore!
Tips for Success
Alright, let’s make sure your Peanut Butter Chocolate Rice Krispie Treat Cups turn out absolutely perfect! Here are my top tips:
- Choose your peanut butter wisely! Whether you go for creamy or crunchy, make sure it’s a good quality brand. It makes a big difference in flavor and texture.
- Don’t rush the melting! Keep the heat low and stir often when melting the peanut butter and honey. If it gets too hot, it can burn, and nobody wants that!
- Be generous with the mixing. When you add the Rice Krispies, really take your time to coat every piece. This ensures a deliciously sticky treat in every bite.
- Pack it in! When pressing the mixture into the muffin cups, don’t be shy. The firmer you pack it, the better it holds together once set.
- Experiment with add-ins! Feel free to toss in some chopped nuts, mini marshmallows, or even a sprinkle of sea salt on top of the chocolate for a delightful twist.
- Don’t skip the chilling! Letting them cool in the refrigerator is key. It helps the chocolate set and makes them easier to remove from the cups.
- Storage is key! Keep your cups in an airtight container in the fridge. They’ll stay fresh and delicious for up to a week (if they last that long!).
With these tips, you’ll be a Rice Krispie treat pro in no time! Enjoy the process and the tasty results!
Serving Suggestions
When it comes to enjoying your Peanut Butter Chocolate Rice Krispie Treat Cups, I always say, the more, the merrier! These little delights are perfect on their own, but pairing them with something refreshing or cozy can take your snack game to the next level. Here are my favorite serving suggestions:
- Milk: You can’t go wrong with a classic glass of cold milk! It complements the rich flavors of peanut butter and chocolate beautifully.
- Coffee: If you’re in the mood for a pick-me-up, a warm cup of coffee or even a frothy latte pairs perfectly with these sweet treats. Trust me, it’s a match made in heaven!
- Hot Chocolate: For a cozy indulgence, try serving them with a cup of rich hot chocolate, especially on chilly days. It’s like a chocolate lover’s dream!
- Fruit: Fresh fruit, like banana slices or strawberries, adds a nice contrast and balances the sweetness of the cups.
- Yogurt: A dollop of creamy yogurt, maybe with a drizzle of honey, can provide a delightful tang to cut through the sweetness. It’s also a fun way to add a bit of creaminess!
No matter what you choose to serve alongside, just know that these cups will steal the show. So grab your favorite beverage or snack and enjoy every delicious bite!
Storage & Reheating Instructions
Now that you’ve whipped up these delightful Peanut Butter Chocolate Rice Krispie Treat Cups, you’ll want to make sure they stay fresh and delicious! For storage, simply place your cups in an airtight container. I usually line the container with a piece of parchment paper to prevent sticking, but that’s just me being extra cautious! They’ll keep well in the fridge for about a week—though I can’t promise they’ll last that long since they’re so good!
If you find yourself with leftovers (lucky you!), there’s really no need to reheat them. These treats are best enjoyed chilled straight from the fridge! Just grab one and dig in! However, if you prefer a warm, melty chocolate experience, you can microwave them for just a few seconds. But be careful—too long, and you might end up with a gooey mess instead of a treat! So, just a quick zap should do the trick if you want that warm chocolate bliss!
FAQ Section
Got questions? No worries, I’ve got answers! Here are some common ones I’ve come across while making these delightful Peanut Butter Chocolate Rice Krispie Treat Cups:
Can I use a different sweetener instead of honey?
Absolutely! If you’re not a fan of honey or need a vegan option, you can swap it out for maple syrup or agave nectar. Just keep in mind that the flavor will change slightly, but it’ll still taste amazing!
What if I have nut allergies?
If nuts are a no-go for you, you can substitute the peanut butter with sun butter or any seed butter you like. They’ll work just as well, and you won’t miss out on that creamy goodness!
Can I make these gluten-free?
Yes, indeed! Just make sure your Rice Krispies are labeled gluten-free. There are some fantastic options available that taste just as great!
How many cups does this recipe make?
This recipe yields about 12 cups, perfect for sharing (or keeping all to yourself, no judgment here!). If you want more, just double the ingredients!
Can I add other mix-ins?
Oh, definitely! Feel free to get creative. Mini marshmallows, dried fruit, or even a sprinkle of sea salt on top of the chocolate can add a delightful twist. The sky’s the limit!
How should I store the cups?
Store them in an airtight container in the fridge, and they should stay fresh for up to a week. But let’s be real—if they last that long, you’re doing better than me!
Can I freeze these treats?
Yes! You can freeze them for up to a month. Just make sure to wrap them well in plastic wrap or place them in a freezer-safe container. Thaw them in the fridge before enjoying them again!
If you have any other questions, feel free to reach out! I love chatting about these cups and helping you create the best treats possible!
Nutritional Information
Before we dive into the deliciousness, let me remind you that nutritional values can vary based on the specific ingredients and brands you choose. That said, here’s a general estimate of what you can expect per Peanut Butter Chocolate Rice Krispie Treat Cup:
- Calories: 200
- Sugar: 10g
- Sodium: 50mg
- Fat: 9g
- Saturated Fat: 2g
- Unsaturated Fat: 7g
- Trans Fat: 0g
- Carbohydrates: 28g
- Fiber: 1g
- Protein: 4g
- Cholesterol: 0mg
These delightful cups are not only a sweet treat but also pack a little punch when it comes to flavor and satisfaction. Enjoy them without worrying too much about the numbers—just savor every delicious bite!
Print
Peanut Butter Chocolate Rice Krispie Treat Cups in 25 Minutes
- Total Time: 25 minutes
- Yield: 12 cups 1x
- Diet: Vegetarian
Description
Delicious and easy-to-make Peanut Butter Chocolate Rice Krispie Treat Cups.
Ingredients
- 3 cups Rice Krispies
- 1 cup peanut butter
- 1 cup chocolate chips
- 1/2 cup honey
- 1 teaspoon vanilla extract
Instructions
- In a saucepan, melt peanut butter and honey over low heat.
- Remove from heat and stir in vanilla extract.
- Add Rice Krispies and mix until fully coated.
- Press the mixture into muffin cups.
- Melt chocolate chips and pour over the Rice Krispie mixture.
- Let cool in the refrigerator until chocolate sets.
Notes
- Store in an airtight container.
- Use creamy or crunchy peanut butter as per preference.
- You can add nuts for extra crunch.
- Prep Time: 15 minutes
- Cook Time: 10 minutes
- Category: Dessert
- Method: No-bake
- Cuisine: American
Nutrition
- Serving Size: 1 cup
- Calories: 200
- Sugar: 10g
- Sodium: 50mg
- Fat: 9g
- Saturated Fat: 2g
- Unsaturated Fat: 7g
- Trans Fat: 0g
- Carbohydrates: 28g
- Fiber: 1g
- Protein: 4g
- Cholesterol: 0mg
Keywords: Peanut Butter, Chocolate, Rice Krispies, Treats, Dessert