
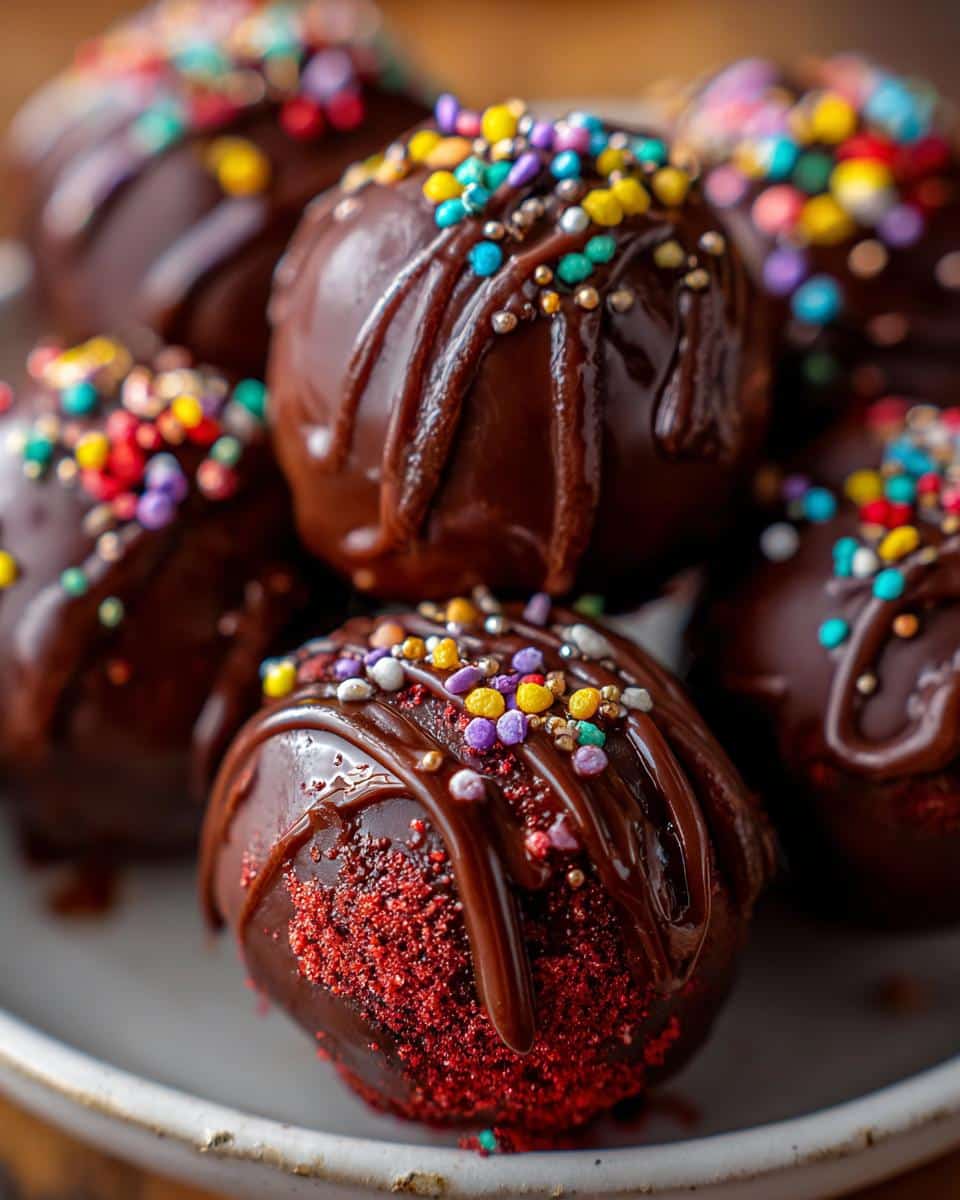
Oh my goodness, let me tell you about the joy of making these Red Velvet Truffles! They’re not just any truffles; they’re little bites of bliss that combine the rich, velvety flavor of red velvet cake with the creamy goodness of cream cheese frosting. Trust me, there’s something truly magical about rolling these decadent treats in melted chocolate and watching them transform into a fancy dessert that looks just as good as it tastes. I love making these for special occasions or just when I want to treat myself (which, let’s be real, is often!). They’re so easy to whip up and the best part? You can use leftover cake! So, grab your apron and let’s dive into this delicious adventure together! You won’t regret it!
Ingredients List
- 1 cup red velvet cake crumbs
- 1/2 cup cream cheese frosting
- 8 oz dark chocolate, melted
- 1 tablespoon cocoa powder
- 1 tablespoon sprinkles (optional)
How to Prepare Red Velvet Truffles
Step 1: Combine the Ingredients
First things first, grab a big mixing bowl and toss in those lovely red velvet cake crumbs. Then, add the cream cheese frosting. Now, here’s the fun part—mix it all together until it’s well combined! You want a consistency that’s not too dry but holds together nicely when you press it. It should feel like the perfect dough, soft yet moldable. Trust me, this step is crucial for the truffles to hold their shape later on!
Step 2: Form the Truffles
Once you’ve got that mixture just right, it’s time to roll! Scoop out a small amount (about a tablespoon) and roll it between your hands to form little balls. Aim for uniformity here—about the size of a walnut works perfectly. This way, each truffle will be just as delightful as the last! I like to make them all the same size so they look super cute when plated up.
Step 3: Chill
Next, place those delightful little balls on a baking sheet lined with parchment paper and pop them in the fridge for about 30 minutes. This chilling step is so important because it helps the truffles firm up, making them easier to dip in chocolate later. Plus, it gives you a little time to clean up the kitchen (or maybe sneak a taste of the leftovers—no judgment here!).
Step 4: Dip in Chocolate
Now for the best part! Melt that dark chocolate in a microwave-safe bowl. Once it’s nice and smooth, take each chilled truffle and dip it in the chocolate, making sure to coat all sides. A fork works wonders here—just roll the truffle around until it’s fully covered, then let the excess chocolate drip off. You want a perfect, shiny coat! Oops, don’t forget to keep some chocolate for drizzling if you’re feeling fancy!
Step 5: Roll in Cocoa or Sprinkles
If you want to add a touch of flair, roll your freshly dipped truffles in cocoa powder or sprinkle them with colorful sprinkles while the chocolate is still wet. This little addition not only makes them look gorgeous but also adds a delightful flavor contrast. You can be as creative as you like here—go wild with those sprinkles!
Step 6: Set the Truffles
Once you’ve decorated your truffles, place them back on the baking sheet and let them set. I usually let them sit for about 10 to 15 minutes until the chocolate hardens. If you’re feeling impatient, you can pop them back in the fridge for a quicker set. And voila! You’ve got yourself some gorgeous Red Velvet Truffles ready to be devoured!
Nutritional Information
Let’s talk about the numbers behind these scrumptious Red Velvet Truffles! Each truffle is a little package of joy, and here’s what you can expect nutritionally:
- Serving Size: 1 truffle
- Calories: 120
- Sugar: 10g
- Sodium: 50mg
- Fat: 8g
- Saturated Fat: 4g
- Unsaturated Fat: 3g
- Trans Fat: 0g
- Carbohydrates: 12g
- Fiber: 1g
- Protein: 2g
- Cholesterol: 10mg
Keep in mind that these values are estimates and can vary based on the specific ingredients you use. So, while you’re indulging in these little delights, you can enjoy them with a bit of peace of mind knowing they’re not too heavy on the waistline! Happy snacking!
Tips for Success
Alright, let’s make sure your Red Velvet Truffles turn out absolutely perfect! Here are some of my best tips to help you avoid any potential pitfalls and ensure your truffles are a hit.
- Use Fresh Cake Crumbs: If you’re using leftover cake, make sure it’s not too dry. The moisture from the cake helps bind everything together. If your cake is a bit stale, just add a touch more frosting to compensate.
- Chill Time is Key: Don’t skip the chilling step! It really helps the truffles hold their shape when you dip them in chocolate. If they’re too soft, they might fall apart, and that’s just sad.
- Control the Chocolate Temperature: When melting your chocolate, do it slowly in short bursts in the microwave. If it gets too hot, it can seize up and become grainy. You want silky smooth chocolate for that gorgeous coating!
- Be Creative with Coatings: Feel free to experiment! Besides cocoa powder and sprinkles, you can roll your truffles in crushed nuts or coconut for a fun twist. The sky’s the limit!
- Keep it Clean: When dipping, use a fork to help with the chocolate coating and keep your hands clean. Trust me, it makes the process smoother and less messy!
- Storage Matters: Store your truffles in an airtight container in the fridge. They’ll stay fresh for about a week. If you want to keep them longer, they freeze beautifully—just remember to let them thaw in the fridge before enjoying!
With these tips in your back pocket, you’ll be well on your way to creating truffles that are not only delicious but also stunning! Happy truffle-making!
Why You’ll Love This Recipe
- Quick and easy preparation: You can whip these truffles up in no time, making them a fantastic last-minute treat!
- No-bake method: That’s right—no oven needed! Just mix, chill, and dip for a hassle-free dessert.
- Perfect for special occasions: Whether it’s a birthday, holiday, or just because, these truffles are a showstopper that will impress your guests!
- Deliciously rich flavor: The combination of red velvet and cream cheese is a match made in dessert heaven—rich, decadent, and oh-so-satisfying!
- Great for using leftover cake: Have some cake scraps lying around? This recipe is a perfect way to transform them into something magical and scrumptious!
Storage & Reheating Instructions
Let’s talk about how to keep those luscious Red Velvet Truffles fresh and ready for indulging! After making these delightful treats, you’ll want to store them properly to maintain their flavor and texture. Here’s the scoop:
- Refrigeration: Pop your truffles in an airtight container and store them in the fridge. They’ll stay delicious for about a week—if they last that long, of course!
- Freezing: If you want to keep them for an extended period, these truffles freeze beautifully! Just wrap each truffle tightly in plastic wrap or place them in a freezer-safe container. They can last up to two months in the freezer. When you’re ready to enjoy them, simply let them thaw in the fridge overnight. No need to reheat—just dive right in!
By following these storage tips, you can savor every last bite of your Red Velvet Truffles, whether you’re treating yourself or sharing with friends. Enjoy!
FAQ Section
Can I use a different frosting?
Absolutely! While cream cheese frosting is classic and oh-so-delicious, you can easily switch it up. Try using vanilla buttercream or even a chocolate frosting for a rich twist. Just make sure whatever frosting you use is thick enough to help bind the cake crumbs together. Trust me, it’ll still be delightful!
How long do these truffles last?
These truffles are best enjoyed fresh, but they’ll still be tasty for about a week when stored properly! Just keep them in an airtight container in the fridge. If you notice any leftover truffles (which is rare!), you can enjoy them for up to two months if you freeze them. Just remember to let them thaw in the fridge before diving in!
Can I make these truffles ahead of time?
<pYou bet! These truffles are perfect for making ahead of time, and they actually taste even better after chilling in the fridge for a bit. You can prepare them a day or two in advance, just store them in an airtight container. This way, when it’s time for your special occasion, you can simply pull them out and impress your guests with minimal effort. How great is that?
Print
Red Velvet Truffles Recipe: 6 Steps to Indulge in Bliss
- Total Time: 45 minutes
- Yield: 24 truffles 1x
- Diet: Vegetarian
Description
Delicious red velvet truffles coated in chocolate.
Ingredients
- 1 cup red velvet cake crumbs
- 1/2 cup cream cheese frosting
- 8 oz dark chocolate, melted
- 1 tablespoon cocoa powder
- 1 tablespoon sprinkles (optional)
Instructions
- In a bowl, mix red velvet cake crumbs and cream cheese frosting until combined.
- Form the mixture into small balls.
- Chill the balls in the refrigerator for 30 minutes.
- Dip each ball in melted dark chocolate.
- Roll in cocoa powder or sprinkles if desired.
- Let the truffles set on a baking sheet.
Notes
- Use leftover cake for this recipe.
- Keep truffles refrigerated for best taste.
- Prep Time: 15 minutes
- Cook Time: 0 minutes
- Category: Dessert
- Method: No-bake
- Cuisine: American
Nutrition
- Serving Size: 1 truffle
- Calories: 120
- Sugar: 10g
- Sodium: 50mg
- Fat: 8g
- Saturated Fat: 4g
- Unsaturated Fat: 3g
- Trans Fat: 0g
- Carbohydrates: 12g
- Fiber: 1g
- Protein: 2g
- Cholesterol: 10mg
Keywords: Red Velvet Truffles Recipe